Reviewed · BUDAPEST TOURS
Budapest Photo Walks
Budapest looks different when you shoot it right. This customizable photo walk is built for real learning, with off-the-beaten-track viewpoints and guidance that can include composition and camera settings. I like that you can pick a day or nighttime route, and the pace stays flexible.
One thing to consider: the exact order, stops, and even timing depend on weather and your fitness level, so wear shoes you trust on uneven, hilly ground around the viewpoints.
In This Review
- Key Things That Make This Photo Walk Worth It
- What You Get in a 2 to 3 Hour Budapest Photo Walk
- Price and Value, Plus the Max Two Travelers Setup
- Where You Start at Batthyány tér, and How the Plan Works
- Gellért Hill: Your First Big View, Day or Night
- Castell de Buda and the Chain Bridge Angle at Night
- Liberty Bridge: Framing the Bridge and Gellért Hill
- Batthyány Square: The Parliament View That Anchors Your Set
- Tripod Included: How to Use It Without Making Your Shoot Sloppy
- Learn Composition and Settings, With Room for Beginners
- Day vs Night: Pick the Option That Matches Your Photo Goals
- Who This Tour Suits Best, and Who Might Want Something Else
- Practical Details That Affect Your Experience
- Should You Book Budapest Photo Walks?
- FAQ
- How long is Budapest Photo Walks?
- What is the price per person?
- Is the photo walk offered during the day or at night?
- What is included in the tour?
- Do I need private transportation?
- How many travelers are on each tour?
- Where does the tour start?
- How long are the individual stops?
- Are admission tickets required for the stops?
- Can I cancel for a full refund?
Key Things That Make This Photo Walk Worth It
- Small group size (max two travelers), so questions do not get lost
- Tripod included, which is a big deal for night shots and sharper frames
- Day or night options, with similar core views but different results
- A flexible plan (4 to 5 main viewpoints) based on your request and stamina
- Composition and camera settings help if you want the primer
- Off-the-beaten-track vantage points, aimed away from the busiest crowds
What You Get in a 2 to 3 Hour Budapest Photo Walk
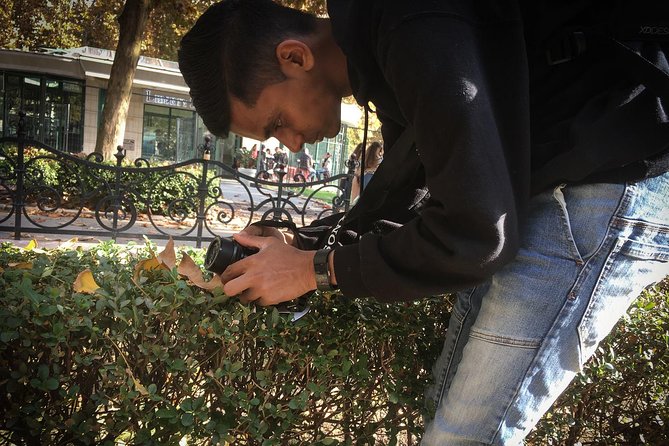
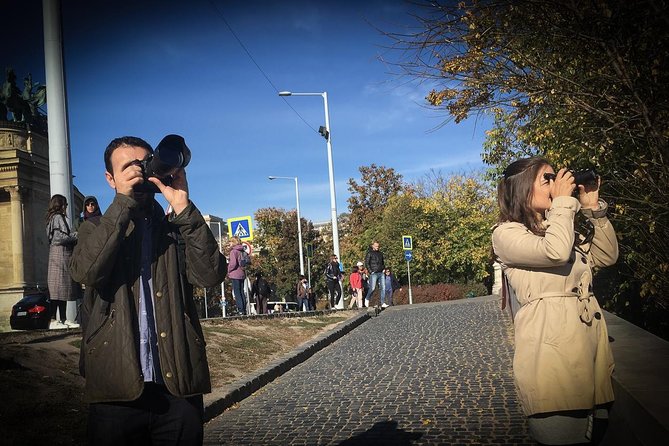
This is a short, focused photo walk that keeps you outside and moving through a handful of the city’s best visual anchors. The whole point is to help you leave with better photos, not just more photos. You will be moving between major viewpoints like Gellért Hill and Liberty Bridge, but you are also meant to get angles that feel less tourist-standard.
The time window is about 2 to 3 hours, with individual stops scheduled in the rough range of 15 to 20 minutes. That may sound quick, but it is intentional: short stops let you test settings, reframe, and adjust without turning the experience into a long slog. If you want more time at a certain spot, you can agree on it, as long as weather and timing allow.
Also, you can do it as a day walk or a night walk. Night versions emphasize lighting and exposure choices, while daytime versions usually make it easier to see details and refine composition fast.
More of Budapest worth an hour of your evening:
- Budapest: City Highlights Sightseeing Cruise
★ 4.6 · 43,981 reviews - Budapest: Unlimited Prosecco, Beer and Aperol Spritz Cruise
★ 4.8 · 37,304 reviews - Budapest: Széchenyi Spa Day Ticket with Optional Upgrades
★ 4.3 · 23,911 reviews
Price and Value, Plus the Max Two Travelers Setup
At $179.74 per person for a 2 to 3 hour session, you are paying for a private-style experience with real coaching time. The biggest value driver here is the maximum of 2 travelers, which means you are not competing with a big group for the guide’s attention. Even if you are a beginner, you should get clear answers on what you are trying to capture.
Another value point: a tripod is included. For night photography, tripods are often the difference between decent and great images, since you usually need steadier shots and slower shutter speeds. For daytime, a tripod can help with precise framing and consistency, especially for architectural views.
One caution on value: this tour does not include private transportation. You will be walking between stops and relying on local access. That is fine for most people, but it does mean you should plan to be comfortable moving around Budapest’s hillier areas.
Where You Start at Batthyány tér, and How the Plan Works
You start at Batthyány tér at metro line M2, specifically in front of the metro station. The meeting is straightforward and public-transport friendly, which matters because the tour ends at the same meeting area by default, but the actual end point is agreed at the beginning of the tour.
The rhythm is simple:
- You pick your day or night option.
- The guide adjusts the route based on your request, weather, and fitness.
- You cover about 4 to 5 main view points during the session, with the main named stops acting as anchors.
This flexibility is not just a nice extra. It is practical. If the wind is strong or visibility is poor, it is better to shuffle locations for better photo results than to rigidly follow a script. Likewise, if you are taking it easy that day, you can steer the walk to match your stamina.
Gellért Hill: Your First Big View, Day or Night
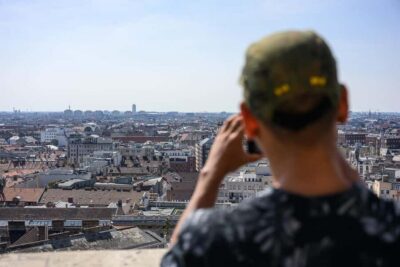
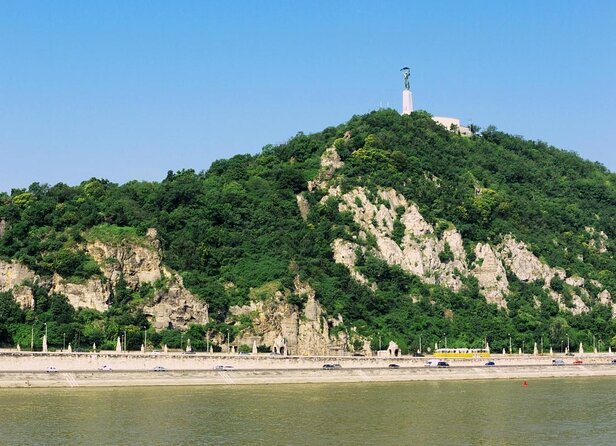
Stop 1 is Gellért Hill, with about 15 minutes at the start. This is a core Budapest photography location, and here it works as both a daytime and nighttime anchor. During the walk, you can cover multiple main view points on and around the hill. The exact number depends on your needs and fitness, and you can negotiate extra time if you are hitting your stride.
Why I like this stop for a first session: it is a natural place to practice composition quickly. You can look for leading lines, strong silhouettes, and framing that includes the river and city massing. If you are new, it is also a good area to learn how to choose a focal point rather than just shooting everything you see.
Practical consideration: because it is a hill viewpoint, expect uneven paths and some stairs or slopes. If you are sensitive to walking uphill, plan slower steps and keep your camera ready so you are not rushing when the best angles open up.
A different sort of day out in Hungary:
- Budapest: Nighttime or Daytime Sightseeing Cruise
★ 4.2 · 21,062 reviews - Budapest: By Night Sightseeing Cruise with Welcome Drink
★ 4.3 · 15,533 reviews - Budapest: St. Stephen’s Basilica Entry with Options
★ 4.6 · 12,322 reviews - Budapest: 1-Hour Evening Sightseeing Cruise with Drink
★ 4.5 · 9,421 reviews
Castell de Buda and the Chain Bridge Angle at Night
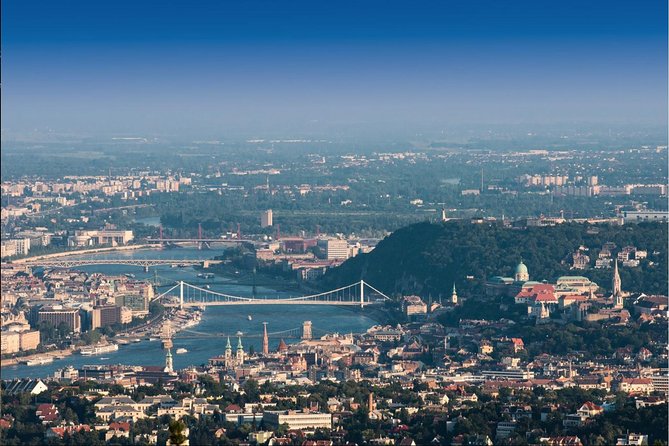
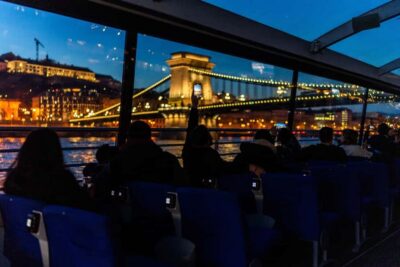
Castell de Buda is a nighttime-only stop, scheduled around 15 minutes. This is where the roundabout and Chain Bridge view come in. Night makes this kind of view especially interesting because you can play with how light travels across the frame, and you get a cleaner separation between illuminated elements and darker foreground.
This stop matters because it teaches a different type of photography skill than bright daylight. Instead of focusing on details, you focus on relationships: where the bridge lights sit in the frame, how the background feels, and how to avoid overexposing bright areas.
A note on expectations: since the itinerary can shift due to weather, you might spend more or less time if conditions are not ideal. If the view is partially blocked by mist or the light is changing quickly, the guide’s flexibility can be a real help.
Liberty Bridge: Framing the Bridge and Gellért Hill
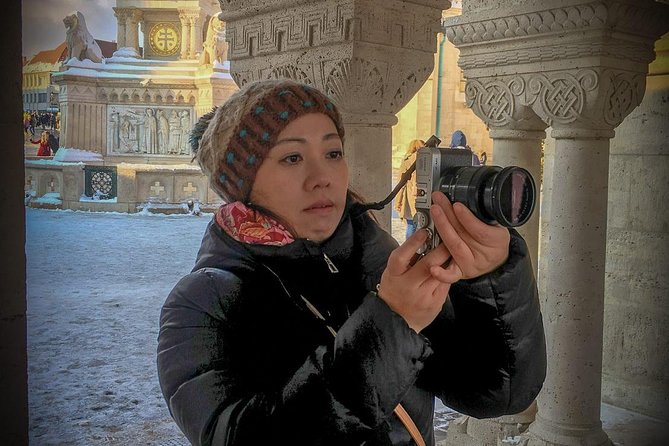
Liberty Bridge (Szabadság hid) is one of the most useful “practice your framing” stops. It is on both day and night itineraries, with about 20 minutes. The key photo payoff here is the combination view: the bridge plus Gellért Hill in the same composition.
What you can learn from this pairing is how to manage depth. A bridge gives you geometry and lines, while Gellért Hill can bring a larger sense of scale. If you are working with a phone, this stop is a good place to practice tapping to focus, keeping horizons level, and trying different positions so the hill sits where you want it.
Drawback: this is also a busy visual zone. Even when the guide aims for less tourist-standard vantage points, the general area around major bridges can still attract crowds. If you have your own tripod, you may need to wait a minute for space, and you should be ready to reposition.
Batthyány Square: The Parliament View That Anchors Your Set
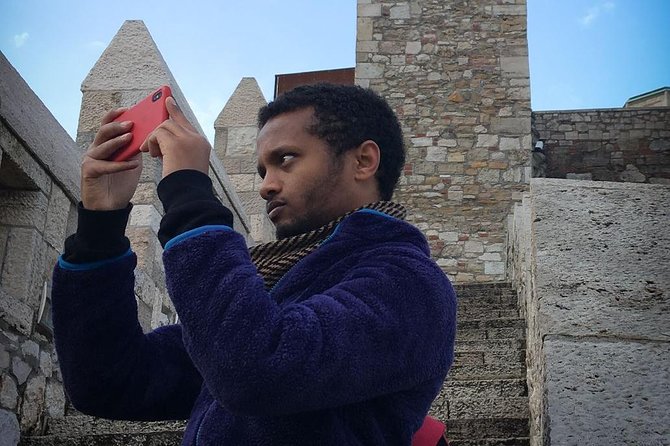
Batthyány Square is the classic payoff stop, around 15 minutes, and it is part of both day and night options. Here the focus is the classic view of Parliament. This stop is less about experimentation with abstract angles and more about getting a confident, well-framed shot with clean architectural lines.
Even if you think you already know what “Parliament photos” look like, this is a great place to improve your hit rate. The key is how you manage your framing and timing. In daylight, you can build crisp compositions. At night, the contrast and lighting can help you create images with stronger mood.
Fitness note: since the day’s total walking depends on your needs, this can be either a quick stop you breeze through or a moment you linger at if you are feeling good. The flexibility is there, but you will get best results if you keep moving when the light is right.
Tripod Included: How to Use It Without Making Your Shoot Sloppy
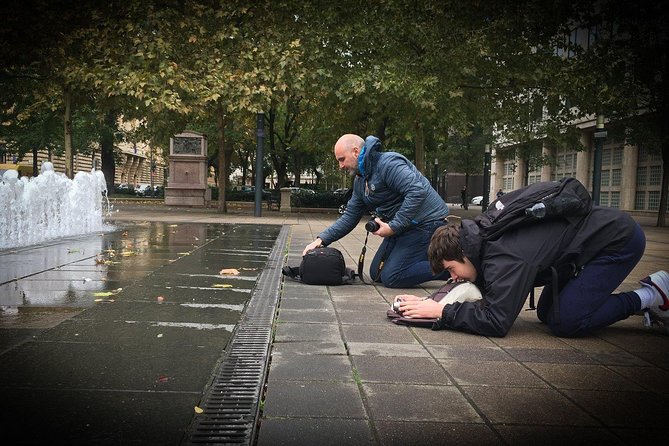
The tour includes a tripod, which is a smart inclusion for any photo walk where night is on the table. Tripods help you:
- keep framing steady for longer exposures,
- reduce blur from hand movement,
- and give you time to fine-tune composition.
But tripods also create a new workflow. You will want to set up, compose, shoot, then adjust. If you rush, you can end up spending more time fiddling than photographing. My advice: treat the tripod as your “slow down button.” At each viewpoint, take a baseline shot first, then refine your angle or exposure.
Also, tripod use depends on what space you find at each vantage point. If there are crowds or limited room, you might need to keep it compact or step a little to one side for better placement. The good news is that the walk is designed around viewpoints, so the guide’s choice of angle can help you find practical spots.
Learn Composition and Settings, With Room for Beginners
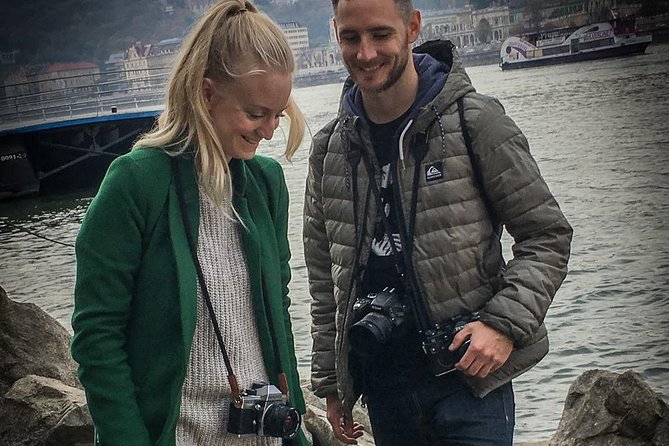
This walk is not only about where you go. It is about how you shoot when you are there. The experience is designed so you can learn basics of composition and camera settings if you want it. That matters because many “photo tours” show you great spots but leave you to figure out settings alone.
A strong sign of how this can work in practice is the guide’s teaching style. In particular, Zoltan is noted for being patient and for explaining photography in a way that is easy to follow. He also brings city context, so your images are not just pretty, they make sense as part of Budapest’s look and feel.
For beginners, the best part of this kind of coaching is that it is immediate. You are not learning theory in a classroom and then hoping to apply it later. You ask a question, then you apply it at the next stop.
For experienced shooters, you can still use the route and tripod setup to test a few new angles. Just be ready to tell the guide what you want, because the itinerary can be adjusted based on your request.
Day vs Night: Pick the Option That Matches Your Photo Goals
Both day and night versions include the major anchor viewpoints, but the emphasis changes.
Day photography:
- easier to see framing and landmarks,
- good for composition practice and clean architecture lines,
- faster to iterate since you are not managing slow exposures as much.
Night photography:
- you can focus on light, contrast, and exposure,
- tripod use becomes more important,
- and mood often improves your results even if you do not change much else.
If you can only do one, my practical suggestion is to match it to your comfort level. If you are brand new to photography settings, start with daytime so you can build confidence. If you already understand exposure basics and want better night results, choose the night route and lean into the tripod.
Who This Tour Suits Best, and Who Might Want Something Else
This is a strong fit if you:
- want a short guided photo plan without full-day commitment,
- like the idea of a beginner-friendly primer on composition and settings,
- appreciate small group attention,
- and want help finding vantage points away from the most obvious tourist angles.
It may not be the best fit if you:
- hate walking uphill or standing at viewpoints for short bursts,
- want a rigid route with no weather adjustments,
- or expect private transportation. There is none included.
One more point: the experience can vary depending on your fitness, and you can agree on extra time and extra places. If you communicate your limits and goals early, you will get the most out of the session.
Practical Details That Affect Your Experience
A few details shape how smoothly the walk goes:
- Mobile ticket is included for the booking.
- It is offered in English.
- Service animals are allowed.
- It is near public transportation, which helps for meeting and timing.
- The tour runs within a set window, listed as Thursday through Sunday, 10:00 AM to 6:00 PM during the listed operating period.
Because the exact starting time and the meeting point details can be arranged, it is smart to reach out to confirm your slot. Small timing choices matter for photography, especially around golden light in day walks or changing brightness at night.
Should You Book Budapest Photo Walks?
If you want a focused photo session with real coaching, I would book this. The mix of small group size, tripod included, and the option for composition and settings help makes it good value for the price, especially compared to tours that only give you directions and a checklist.
I would recommend booking when you have at least some flexibility. Weather can shift the exact route, and the guide adjusts based on your needs. If you show up ready to walk and you are willing to ask questions, you will likely leave with images you can be proud of and a better way to see Budapest through the viewfinder.
FAQ
How long is Budapest Photo Walks?
The tour lasts about 2 to 3 hours.
What is the price per person?
The price is $179.74 per person.
Is the photo walk offered during the day or at night?
Yes. You can choose a day or nighttime itinerary with flexible dates and times.
What is included in the tour?
A tripod is included.
Do I need private transportation?
No. Private transportation is not included.
How many travelers are on each tour?
The tour has a maximum of 2 travelers.
Where does the tour start?
It starts at Batthyány tér in front of the metro M2 station in Budapest, Hungary.
How long are the individual stops?
Stops are listed for about 15 minutes at Gellért Hill and Castell de Buda, about 20 minutes at Liberty Bridge, and about 15 minutes at Batthyány Square.
Are admission tickets required for the stops?
Admission tickets are listed as free for the stops.
Can I cancel for a full refund?
Yes. You can cancel up to 24 hours in advance for a full refund.
Latest to land in Budapest
- Visegrád Hike & Castle Tour with Ferry from Budapest★ 4.6 · 3 reviews
- Budapest: Vacation Photographer to collect great memories★ 5.0 · 49 reviews
- Trash Art Museum: Hungary’s First Scrap Metal Exhibition★ 4.3 · 72 reviews
- True Crime Walking Tour in the Buda Castle district★ 5.0 · 26 reviews
- Budapest: 3-Hour Trabant Sightseeing Tour★ 4.7 · 28 reviews
- Audio visual multi-sensory chefs journey dinner experience★ 5.0 · 3 reviews
- Private Szentendre and Vac Tour from Budapest with Transport★ 5.0 · 3 reviews
- Wine Tasting in the Countryside from Budapest★ 5.0 · 14 reviews
Budapest Tours, compared.

Unlimited Prosecco, Beer and Aperol Spritz Cruise
Read our review →
Széchenyi Spa Day Ticket with Optional Upgrades
Read our review →

By Night Sightseeing Cruise with Welcome Drink
Read our review →